

Creating an email account is one of the first steps to getting online, but setting it up the right way matters just as much as creating it. A good email setup helps you stay organized, protect your account, and avoid inbox overload from day one.
In this guide, we’ll walk through how to create an email account, choose the right provider, secure your inbox, and set yourself up for better email management. If you want your inbox to feel less chaotic from the start, this is the place to begin.
Why email setup matters
An email account is more than just a login. It is often tied to your work, personal communication, subscriptions, and account recovery, so a poor setup can cause long-term headaches.
When you create a new email account, you are also creating the system that will hold your messages, alerts, and important documents. That is why it helps to think beyond sign-up and focus on organization, security, and workflow.
Step 1: Choose an email provider
The first step is deciding which provider fits your needs. Popular options include Gmail, Outlook, Yahoo Mail, and Apple Mail. For business email, platforms like Google Workspace and Microsoft 365 are common choices.
For most people, the best provider depends on how they plan to use email. If you want a simple personal inbox, a free provider may be enough. If you need a branded business address, a custom domain and professional email setup will usually be a better choice.
Step 2: Create your account
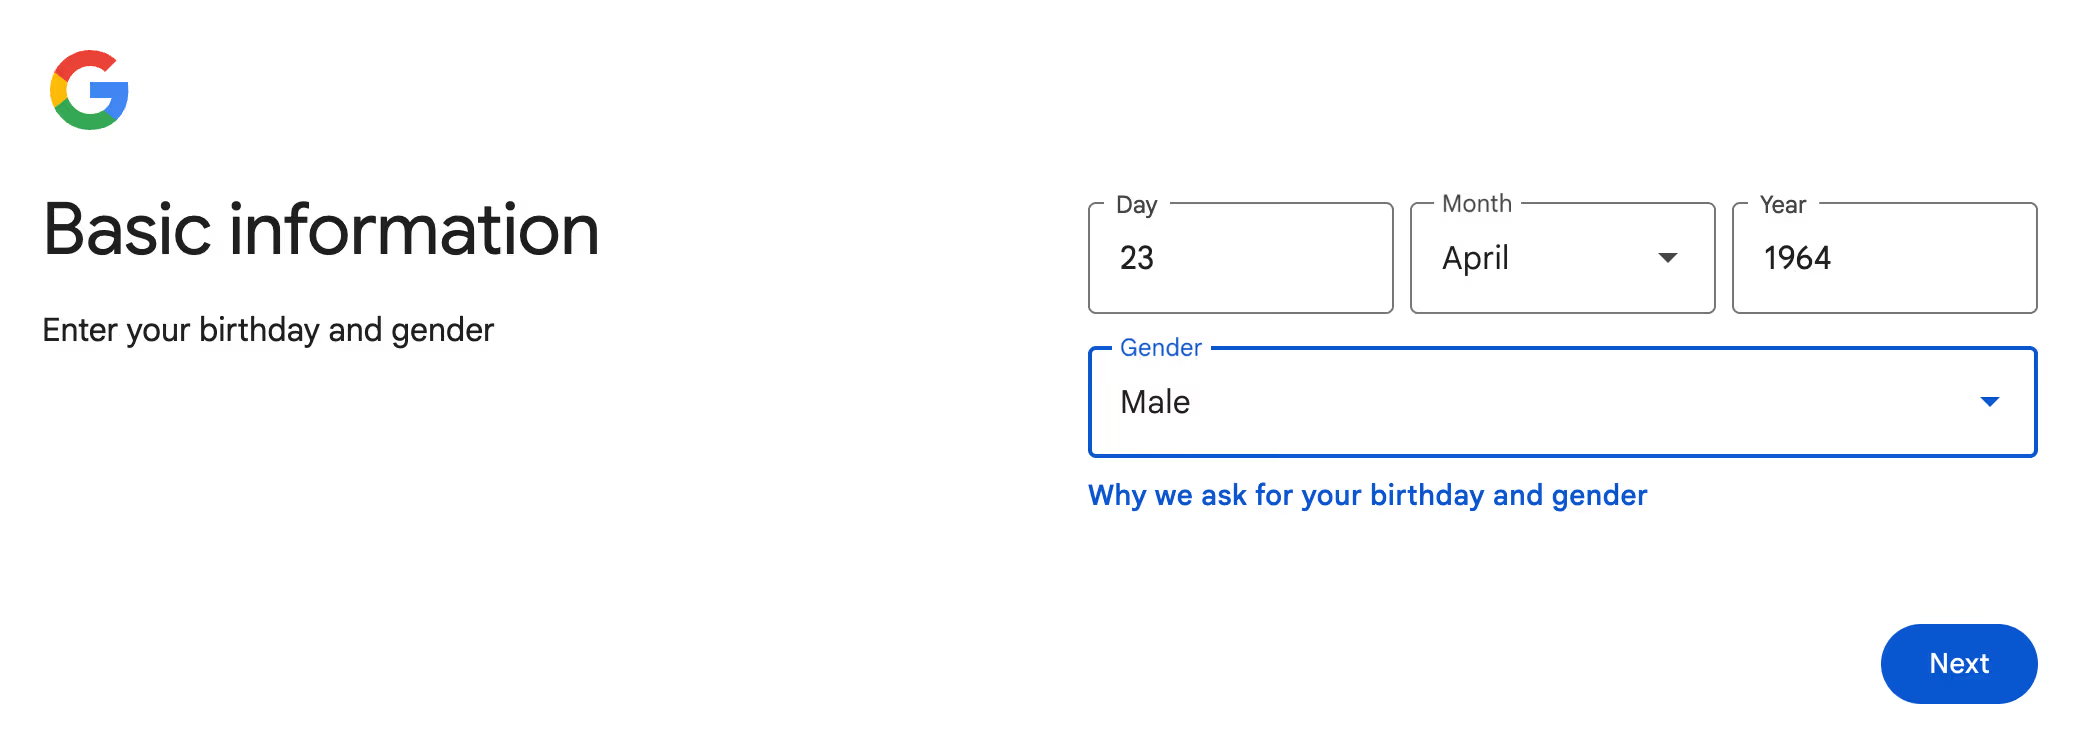
Once you’ve chosen a provider, go to the sign-up page and enter your name, desired email address, and password. Most providers will ask for a phone number or recovery email so you can regain access if you ever get locked out.
Try to choose an email address that is easy to remember and professional if you plan to use it for work. A clean address is easier to share, easier to trust, and easier to keep consistent across platforms.

Step 3: Secure the account
Security should be part of the setup process, not something you think about later. Use a strong password, enable two-factor authentication, and add recovery details right away.
It also helps to review your account settings and check what devices are signed in. If your provider offers security alerts, turn them on so you can spot suspicious activity early.
For a stronger security routine, review guidance from major providers like Google Account Help and Microsoft account security.
Step 4: Customize your inbox
After creating the account, take a few minutes to adjust your settings. Set up a profile photo, add a signature, choose your notification preferences, and create folders or labels for different types of email.
This is also a good time to decide how you want to handle subscriptions, promotions, and alerts. A little setup now can save you from a messy inbox later.
Step 5: Organize for daily use
A new email account feels simple at first, but inbox volume grows quickly. To stay in control, create a structure for the kinds of messages you receive most often.
Here are a few easy ways to start:
- Use folders or labels for work, personal, billing, and travel.
- Unsubscribe from newsletters you do not read.
- Archive messages instead of leaving everything in your inbox.
- Set filters for receipts, alerts, and recurring senders.
- Review your inbox at regular times instead of constantly checking it.
If you want a deeper system for inbox control, tools like InboxPilot can help turn email from a daily distraction into a more manageable workflow.
How InboxPilot helps
Creating an email account is only the first step. The real challenge is keeping your inbox manageable after the setup is done.
That is where InboxPilot can help. Instead of letting important messages get buried, InboxPilot is designed to help users stay organized, reduce email clutter, and manage incoming messages more efficiently.
Common mistakes to avoid
Many people create an email account quickly and never revisit the setup. That can lead to inbox chaos, weak security, and missed messages.
Avoid these common mistakes:
- Using a weak or reused password.
- Skipping recovery options.
- Choosing an unprofessional email address for business use.
- Ignoring folders, labels, and filters.
- Letting subscriptions fill your inbox without a cleanup plan.
Final thoughts
Creating an email account is easy, but creating one that stays organized takes a little more thought. If you choose the right provider, secure the account properly, and build a simple inbox system from the start, email becomes much easier to manage.
InboxPilot is built for people who want a cleaner, smarter inbox without the daily clutter. Start with the right email setup, then keep it under control with a workflow that actually works.
Ready to make email easier to manage? Explore InboxPilot and see how a smarter inbox can save you time every day.

You have been doing it manually for too long
Connect your Gmail or Outlook inbox in one click, train InboxPilot on your business data, and start receiving replies that sound exactly like you – ready to send or sent automatically.