Step 2: Connect Your Email Account
Complete guide to connecting your email account and configuring how InboxPilot's AI responds to messages.
Location: Connect account and Reply settings & labels in the left sidebar
Description: Use Connect account to add Gmail, Outlook, or Zendesk. Use Reply settings & labels to manage connected inboxes, edit prompts, and control how the AI replies. The connect flow is a guided 6-step setup.
How it works: Open Connect account to add a new inbox (guided 6-step setup). After connecting, use Reply settings & labels to change prompts, draft/auto-send, labeling, and appearance anytime.
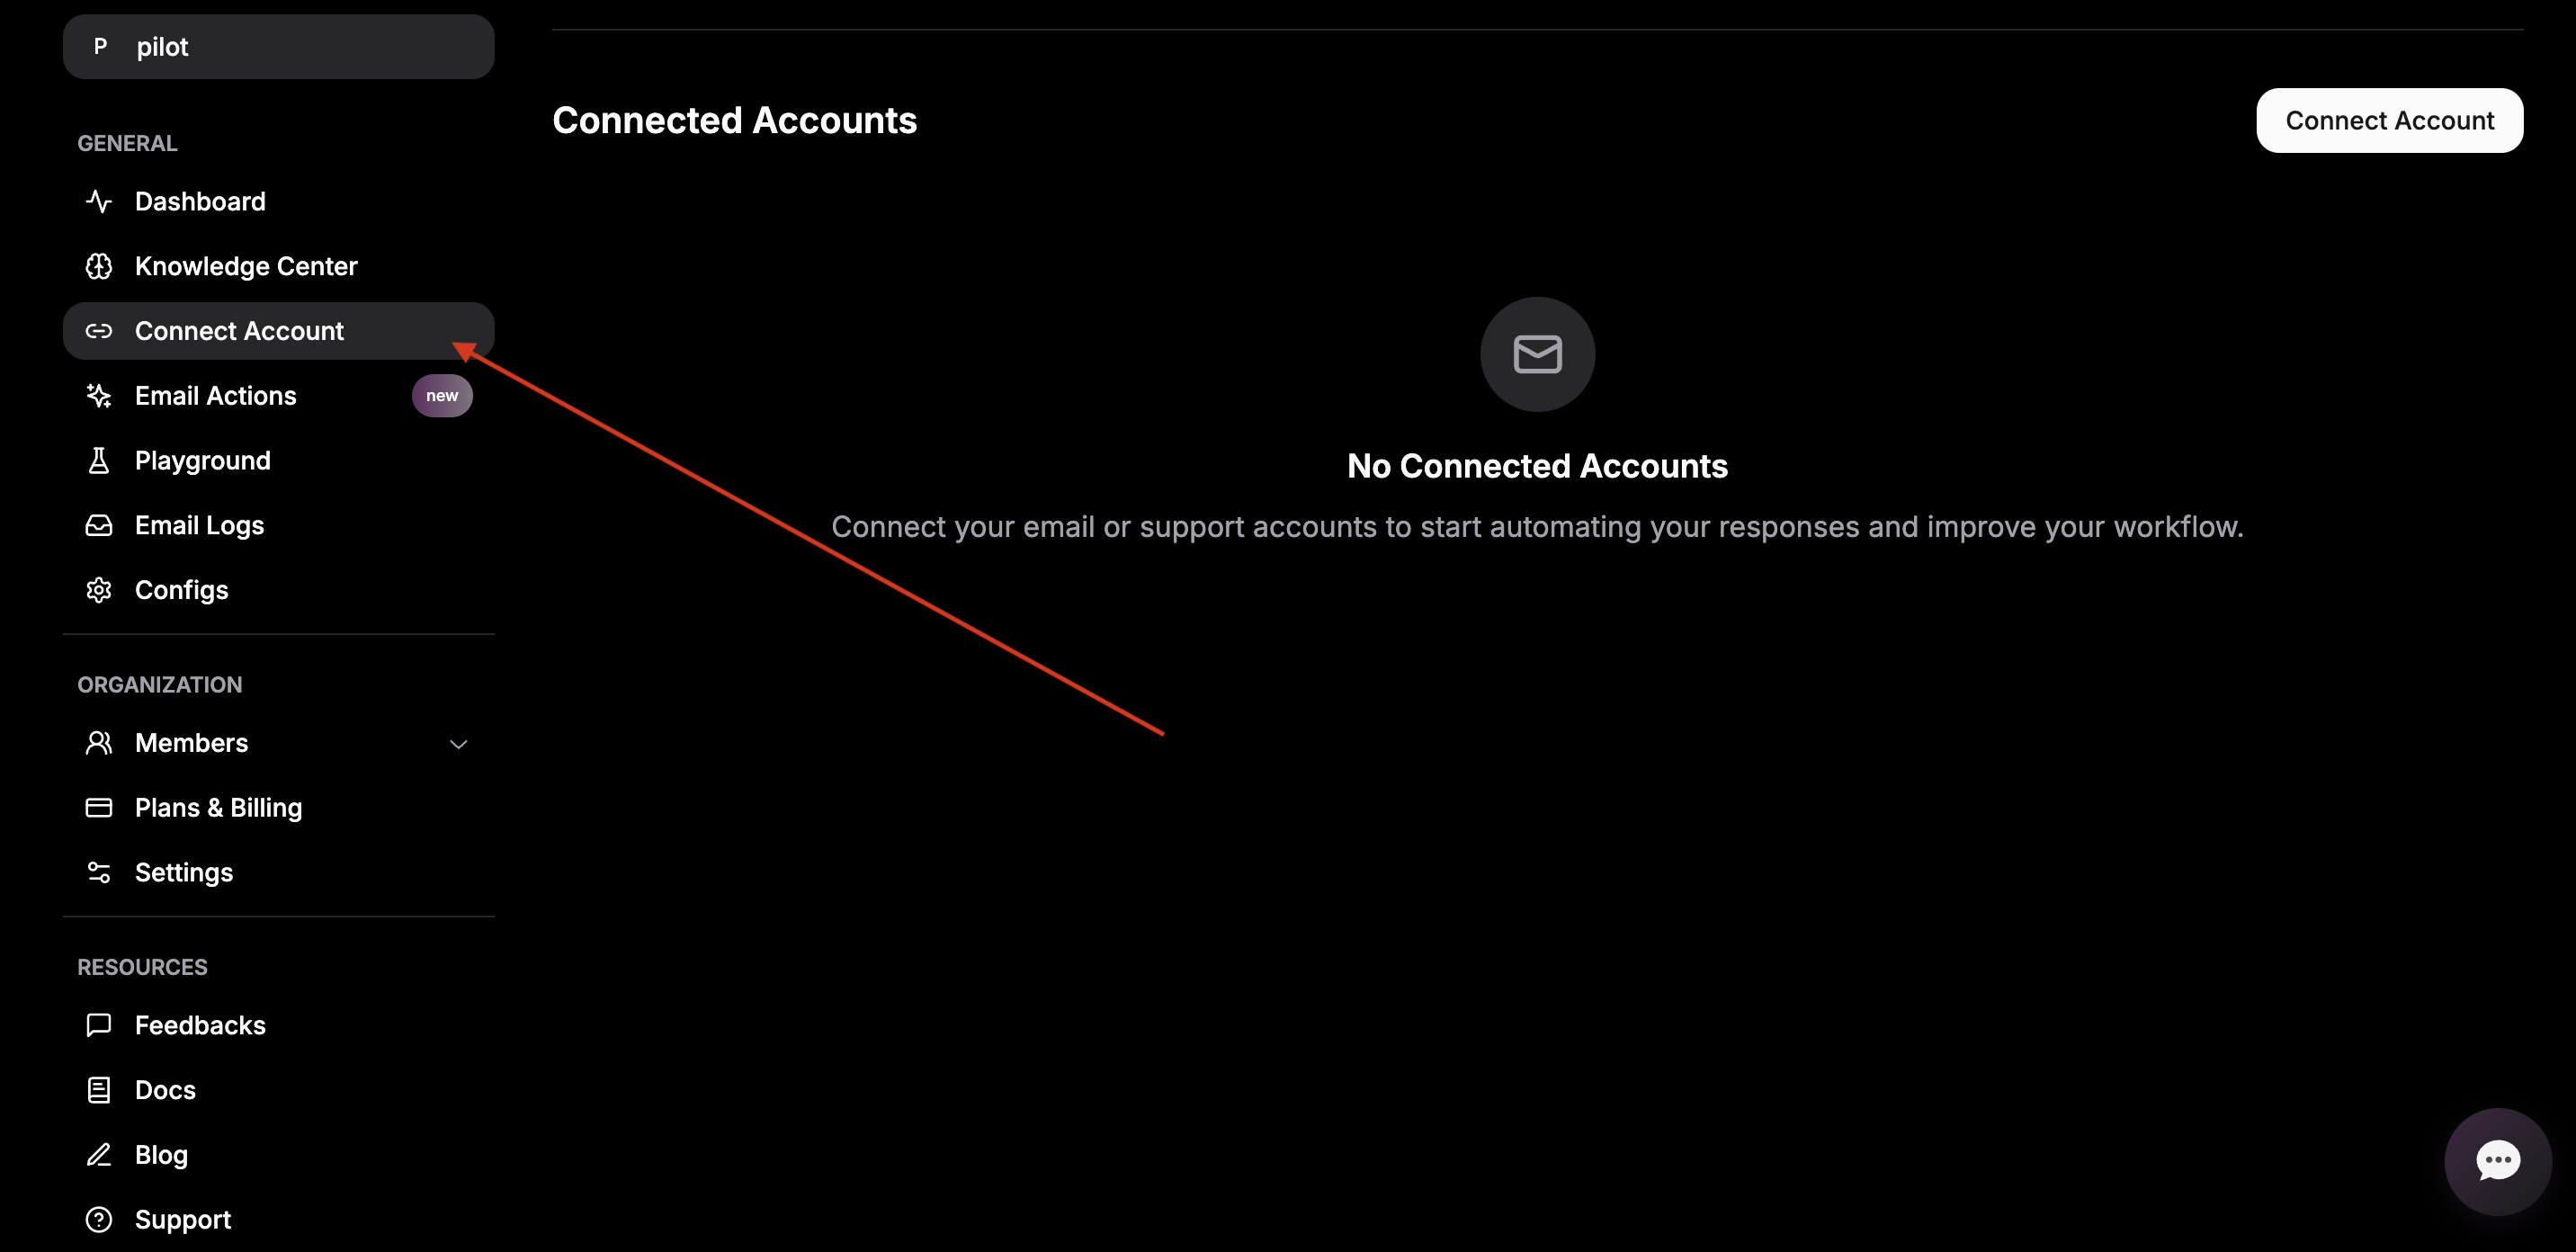
When you open Connect account, you go through a guided 6-step setup:
- Basic Setup
- Use Case & AI Behavior
- Reply Settings
- Email Organization
- Appearance Settings
- Review & Connect
Step 1 – Basic Setup
You will set up:
- Your email platform
- How AI replies are sent
- Open the Email Platform dropdown and choose:
- Gmail
- Outlook
- Zendesk
- Under Sending Mode, select:
- Draft for review by owner – InboxPilot creates drafts; you review and send them manually.
- Send directly – InboxPilot sends replies automatically without review.
- Click Next to continue.
Step 2 – Use Case & AI Behavior
You will set up:
- What kind of emails the AI answers
- How the AI should write and sound
- Select your use case
Choose what your emails are mainly about, for example:- Marketing
- HR
- Billing
- Support / Technical
- Write your AI instructions (prompt)
Describe how you want the AI to respond. You can include:- Tone: “Sound like me: friendly but professional.”
- Style: “Write like a human, avoid jargon.”
- Limits: “Do not use emojis.” / “Never promise discounts.”
- Set the Temperature (creativity)
Use the slider from 0.0 to 1.0:- 0.0 – Consistent (safer, more predictable replies)
- 1.0 – Creative (more varied, more flexible replies)
- Set Max Response Length
Choose either:- A specific max word count (e.g., 100, 200, etc.), or
- A preset:
- Short – up to ~1,000 words
- Medium – up to ~2,000 words
- Long – up to ~5,000 words
- Click Next to move on.
Step 3 – Reply Settings
You will set up:
- When the AI is allowed to reply
- Which messages it should prioritize or ignore
- Minimum message length
- Set the Min message char length (e.g., 10, 100).
- The AI will only reply to messages longer than this value.
- Trigger Keywords (optional)
- Add up to 4 trigger keywords.
- The AI will only reply to messages that contain at least one of these.
- Example:
invoice,payment,bug,support.
- Skip Keywords (optional)
- Add up to 10 skip keywords.
- Messages containing these will be ignored (no AI reply).
- Example:
unsubscribe,do not contact,spam.
- Click Next to continue.
Step 4 – Email Organization
You will set up:
- How emails are labeled and organized automatically
AI email labeling is always on when you connect an account. You can pause or resume it later from Reply settings & labels (per-inbox).
- Allow System Labels
- Turn on Allow System Labels so the AI can create new labels when needed.
- Preset Labels
- Use labels tailored for technical and support topics, such as:
bug-reportintegrationapitroubleshootingdocumentationescalation
- Click Add label to add more, up to 40 labels total.
- Existing labels in your account will also be used where relevant.
- Use labels tailored for technical and support topics, such as:
- Click Next to proceed.
Step 5 – Appearance Settings
You will set up:
- How AI-generated emails look visually
- Font Family – choose a font (for example, Arial).
- Font Size – set the font size (for example, 14).
- Font Color – select the color for your email text.
- Sample Email Preview – review the preview to confirm:
- Font
- Size
- Color
- Adjust until it matches your brand, then click Next.
Step 6 – Review & Connect
You will:
- Confirm all settings
- Finish connecting your account
- Review your settings
Make sure the following are correct:- Email platform
- Use case
- AI instructions (prompt)
- Reply rules (minimum length, trigger keywords, skip keywords)
- Email labeling options
- Appearance settings
- Connect your account
- Click Connect to complete setup.
Once connected, InboxPilot will start handling emails according to the rules and style you have configured. To update settings, add more inboxes, or pause labeling, go to Reply settings & labels (or Connect account to add another inbox).